NASA#
The NASA node allows you to automate work in NASA, and integrate NASA with other applications. n8n has built-in support for a wide range of NASA features, including retrieving imagery and data.
On this page, you'll find a list of operations the NASA node supports and links to more resources.
Credentials
Refer to NASA credentials for guidance on setting up authentication.
Examples and templates
For usage examples and templates to help you get started, take a look at n8n's NASA integrations list.
Basic Operations#
- Astronomy Picture of the Day
- Get the Astronomy Picture of the Day
- Asteroid Neo-Feed
- Retrieve a list of asteroids based on their closest approach date to Earth
- Asteroid Neo-Lookup
- Look up an asteroid based on its NASA SPK-ID
- Asteroid Neo-Browse
- Browse the overall asteroid dataset
- DONKI Coronal Mass Ejection
- Retrieve DONKI coronal mass ejection data
- DONKI Interplanetary Shock
- Retrieve DONKI interplanetary shock data
- DONKI Solar Flare
- Retrieve DONKI solar flare data
- DONKI Solar Energetic Particle
- Retrieve DONKI solar energetic particle data
- DONKI Magnetopause Crossing
- Retrieve data on DONKI magnetopause crossings
- DONKI Radiation Belt Enhancement
- Retrieve DONKI radiation belt enhancement data
- DONKI High Speed Stream
- Retrieve DONKI high speed stream data
- DONKI WSA+EnlilSimulation
- Retrieve DONKI WSA+EnlilSimulation data
- DONKI Notifications
- Retrieve DONKI notifications data
- Earth Imagery
- Retrieve Earth imagery
- Earth Assets
- Retrieve Earth assets
Example Usage#
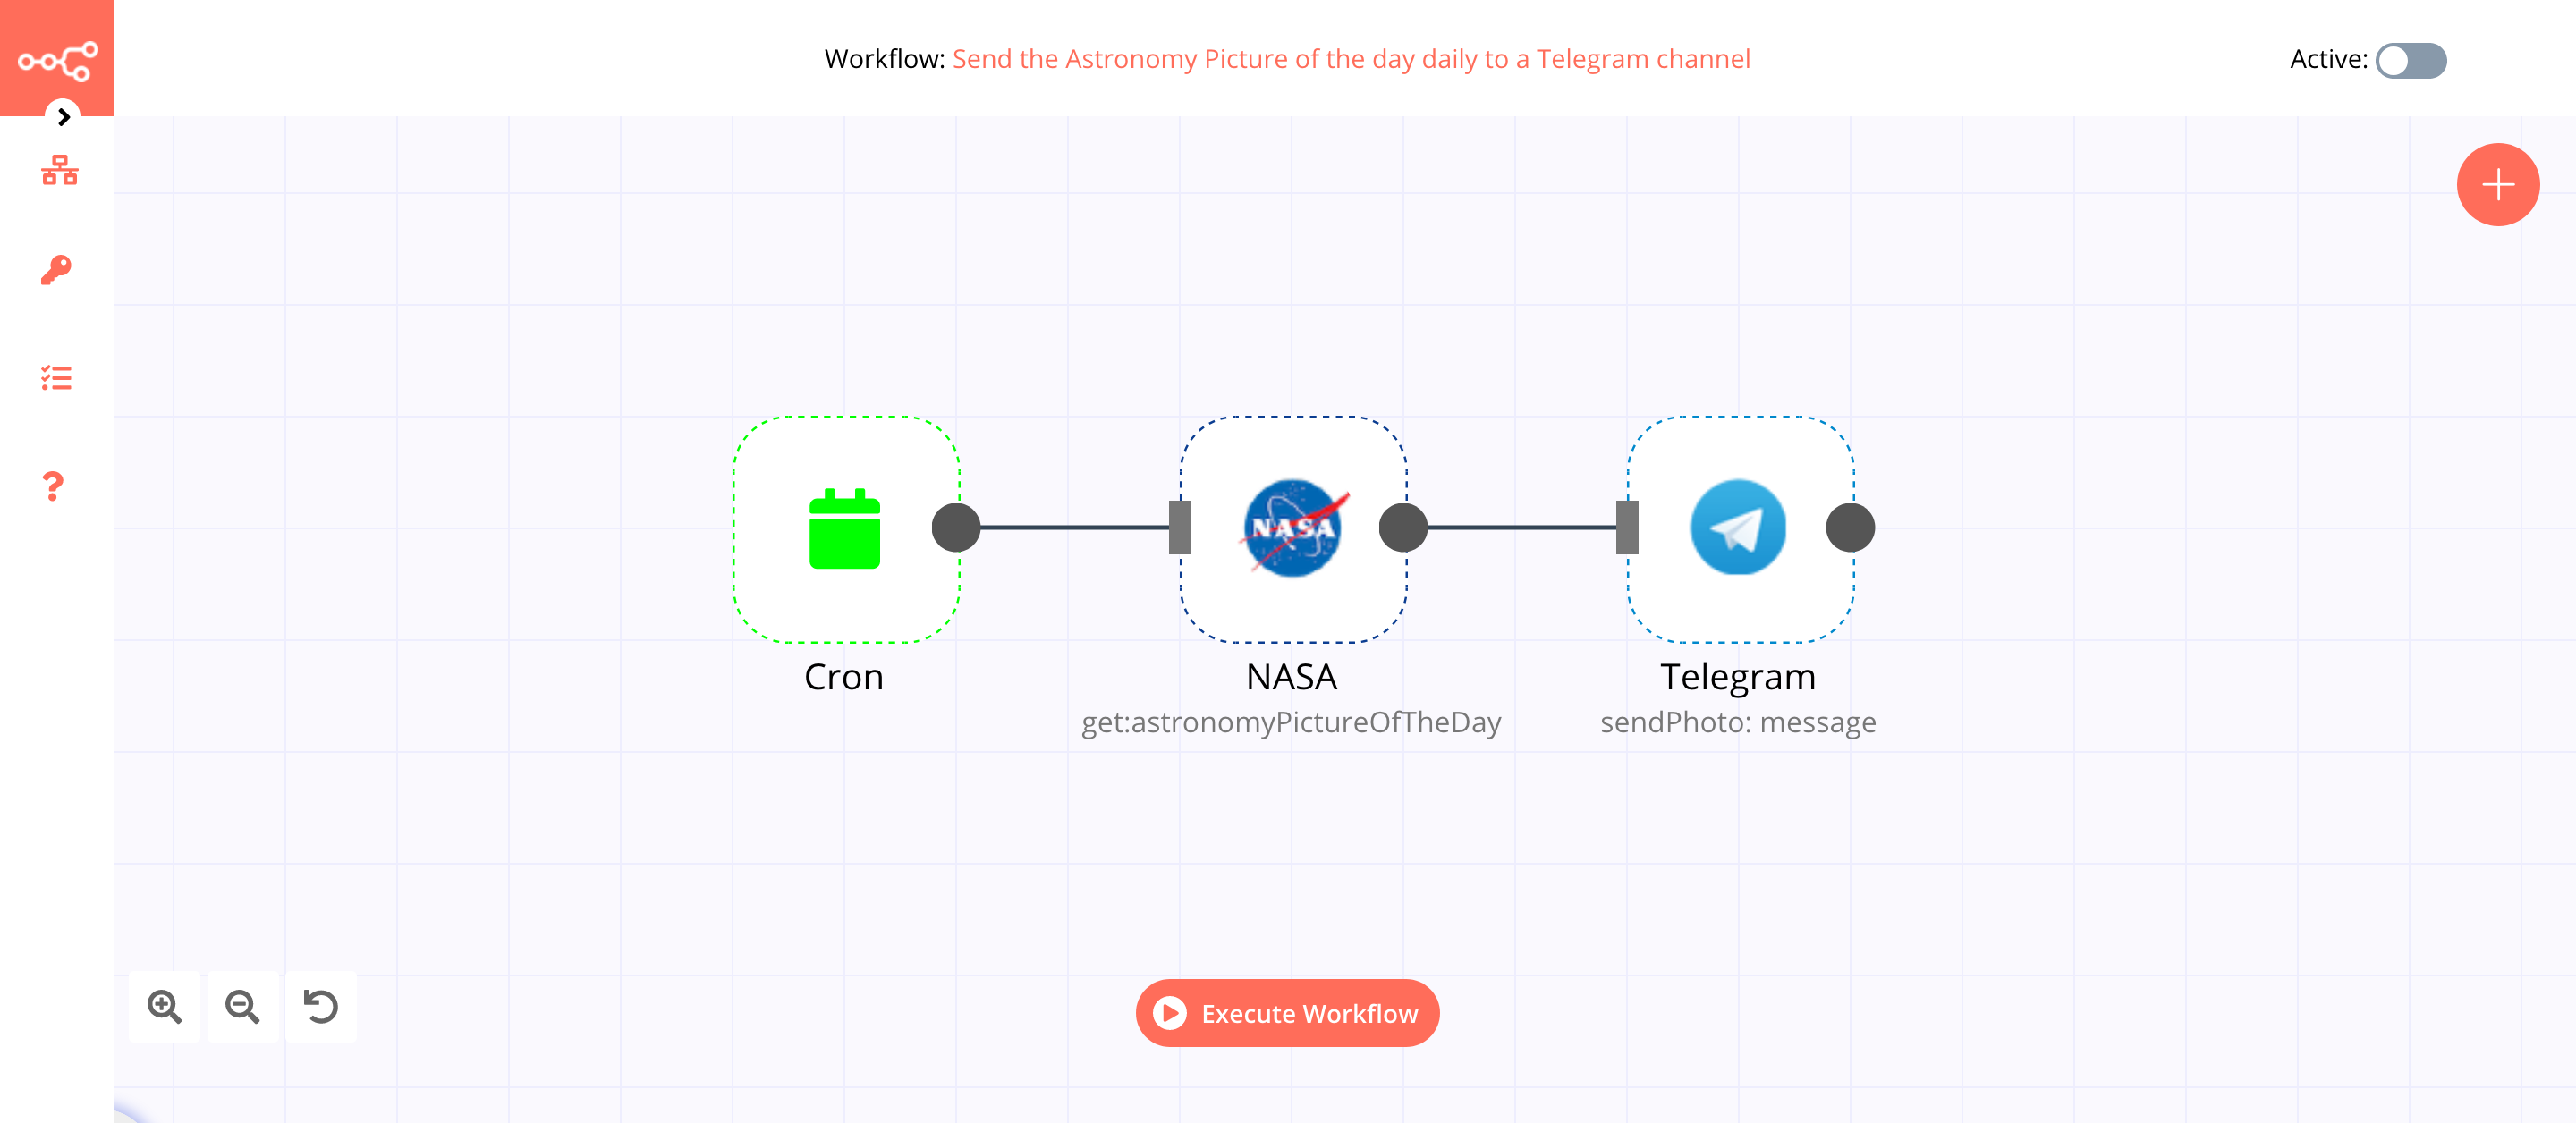
This workflow allows you to send the Astronomy Picture of the day daily to a Telegram channel. You can also find the workflow on n8n.io. This example usage workflow uses the following nodes. - Cron - NASA - Telegram
The final workflow should look like the following image.
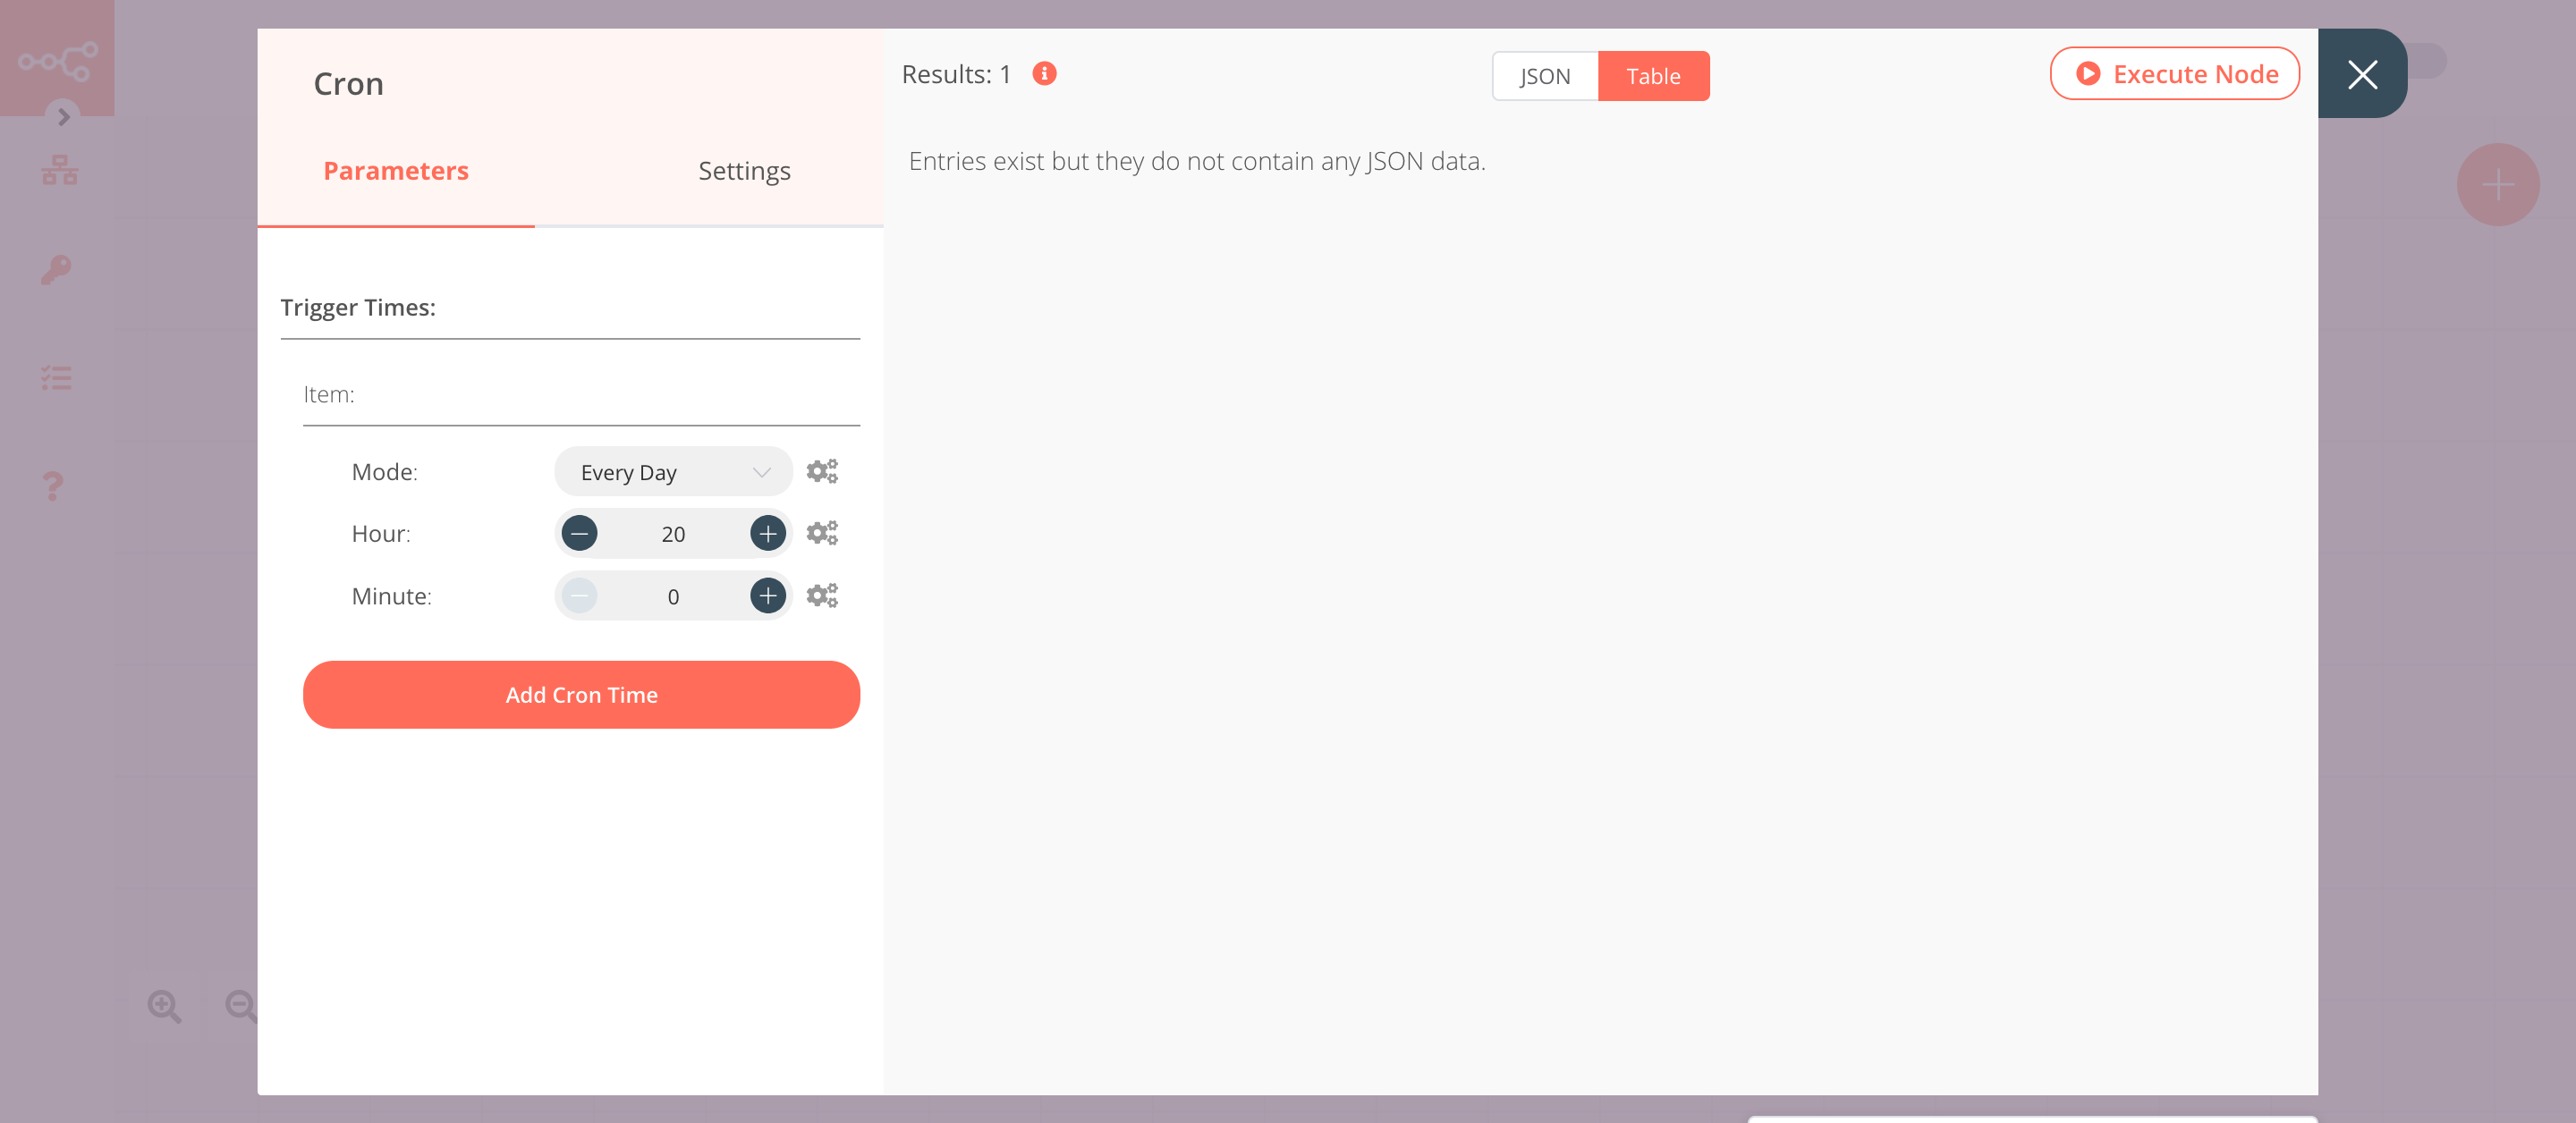
1. Cron node#
The Cron node will trigger the workflow daily at 8 PM.
- Click on Add Cron Time.
- Set hours to 20 in the Hour field.
- Click on Execute Node to run the node.
In the screenshot below, you will notice that the Cron node is configured to trigger the workflow every day at 8 PM.
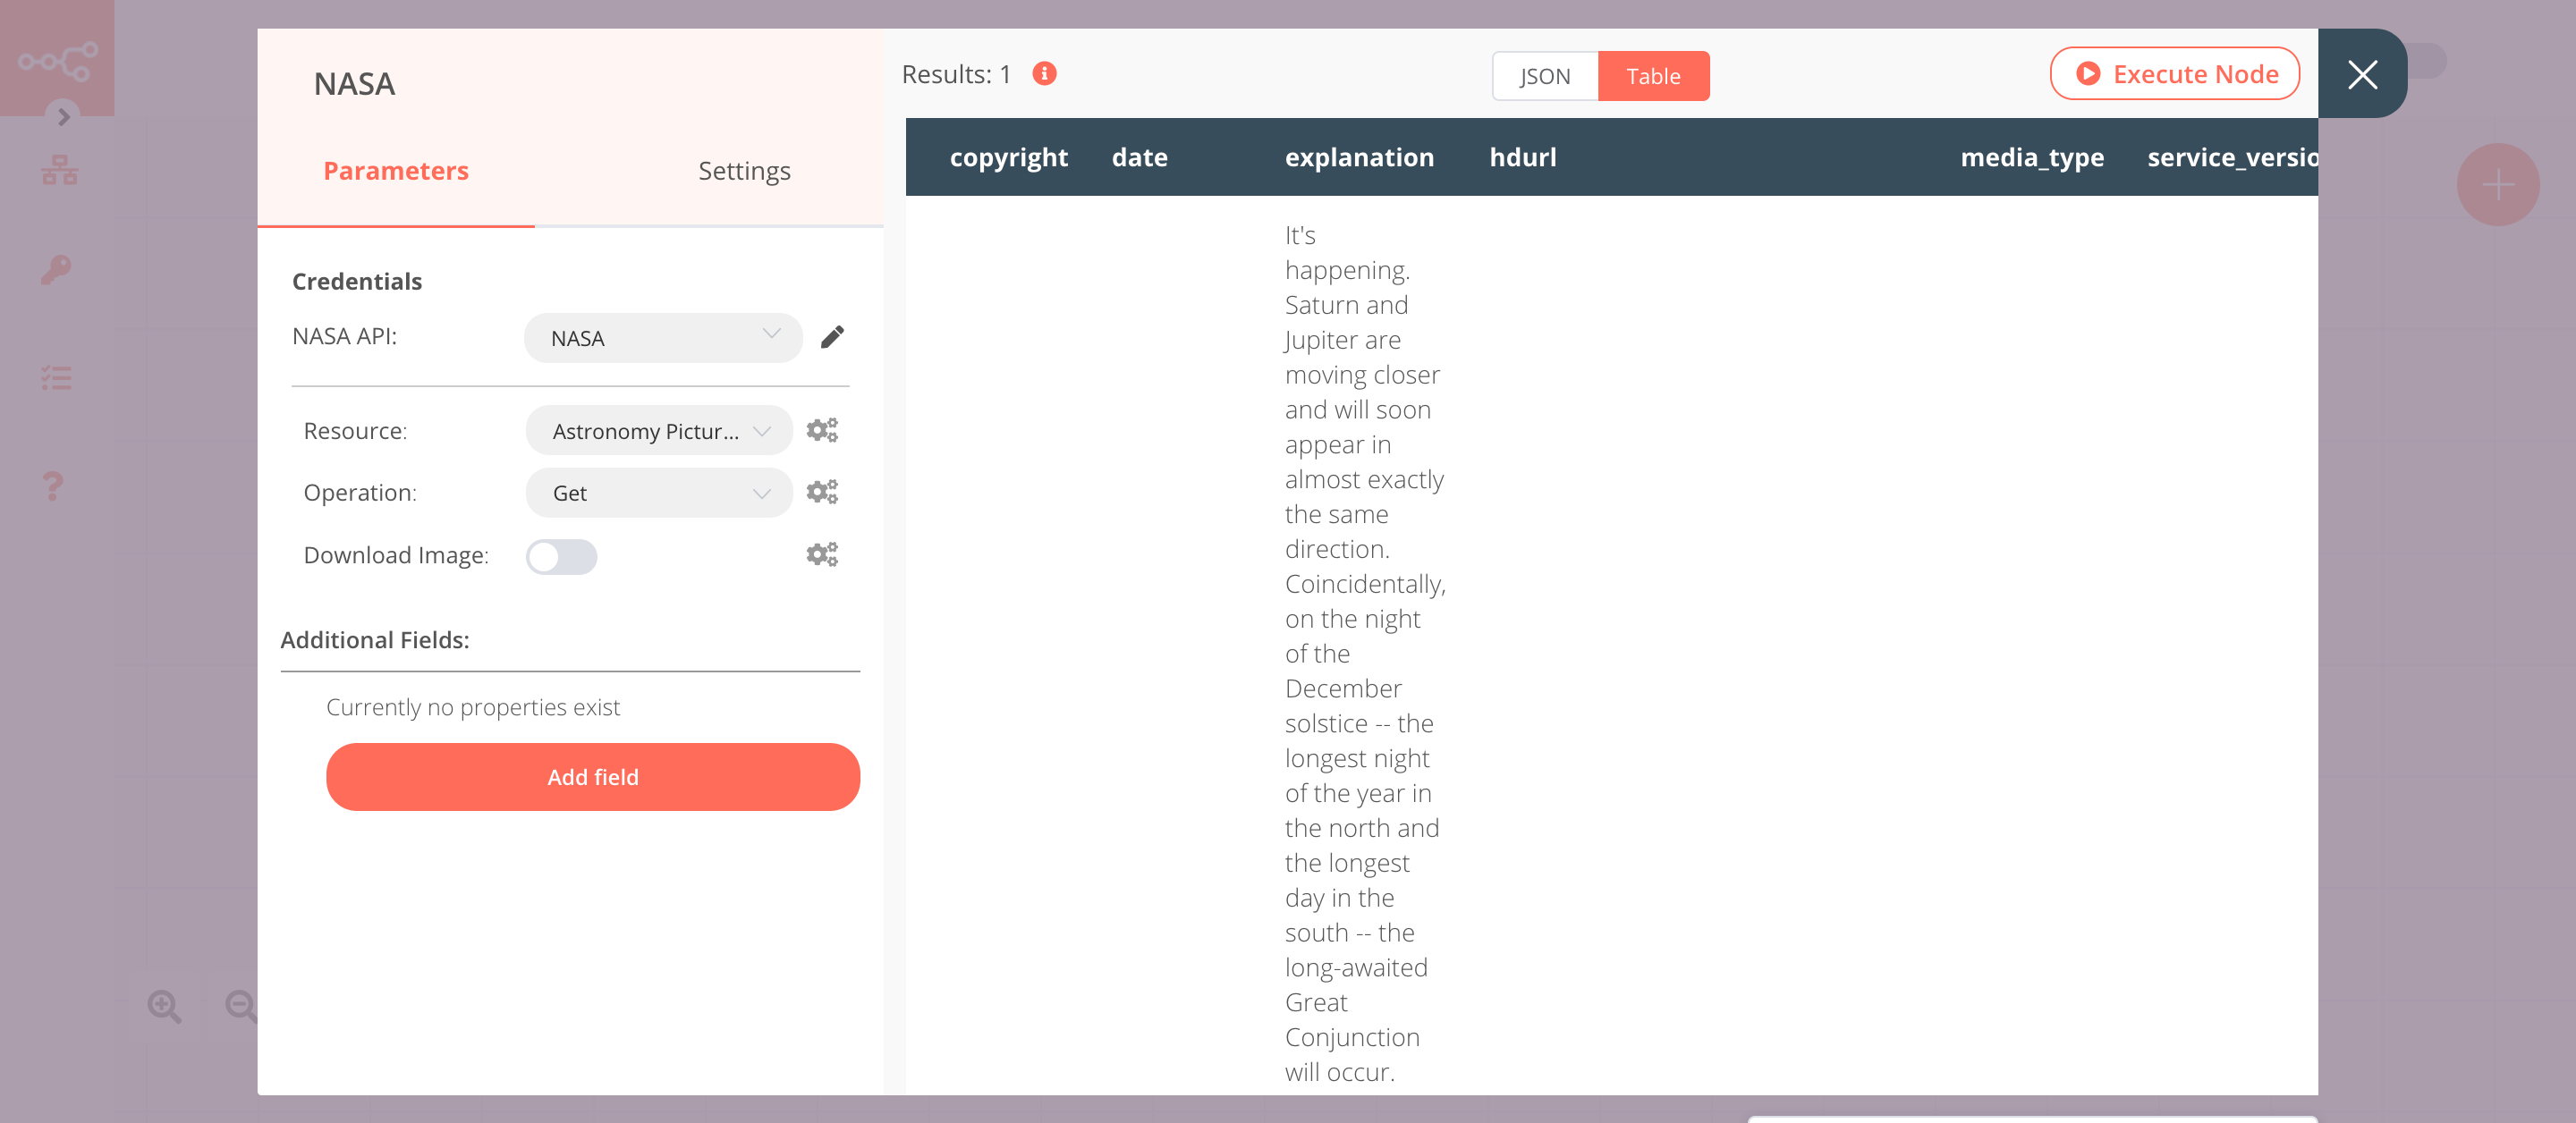
2. NASA node (get:astronomyPictureOfTheDay)#
This node will return the Astronomy Picture of the Day.
- First of all, you'll have to enter credentials for the NASA node. You can find out how to do that here.
- Toggle Download Image to
false. By setting this option to false the node will not return binary data. - Click on Execute Node to run the node.
In the screenshot below, you will notice that the node returns data for the Astronomy Picture of the Day. This data will be used by the next node in the workflow.
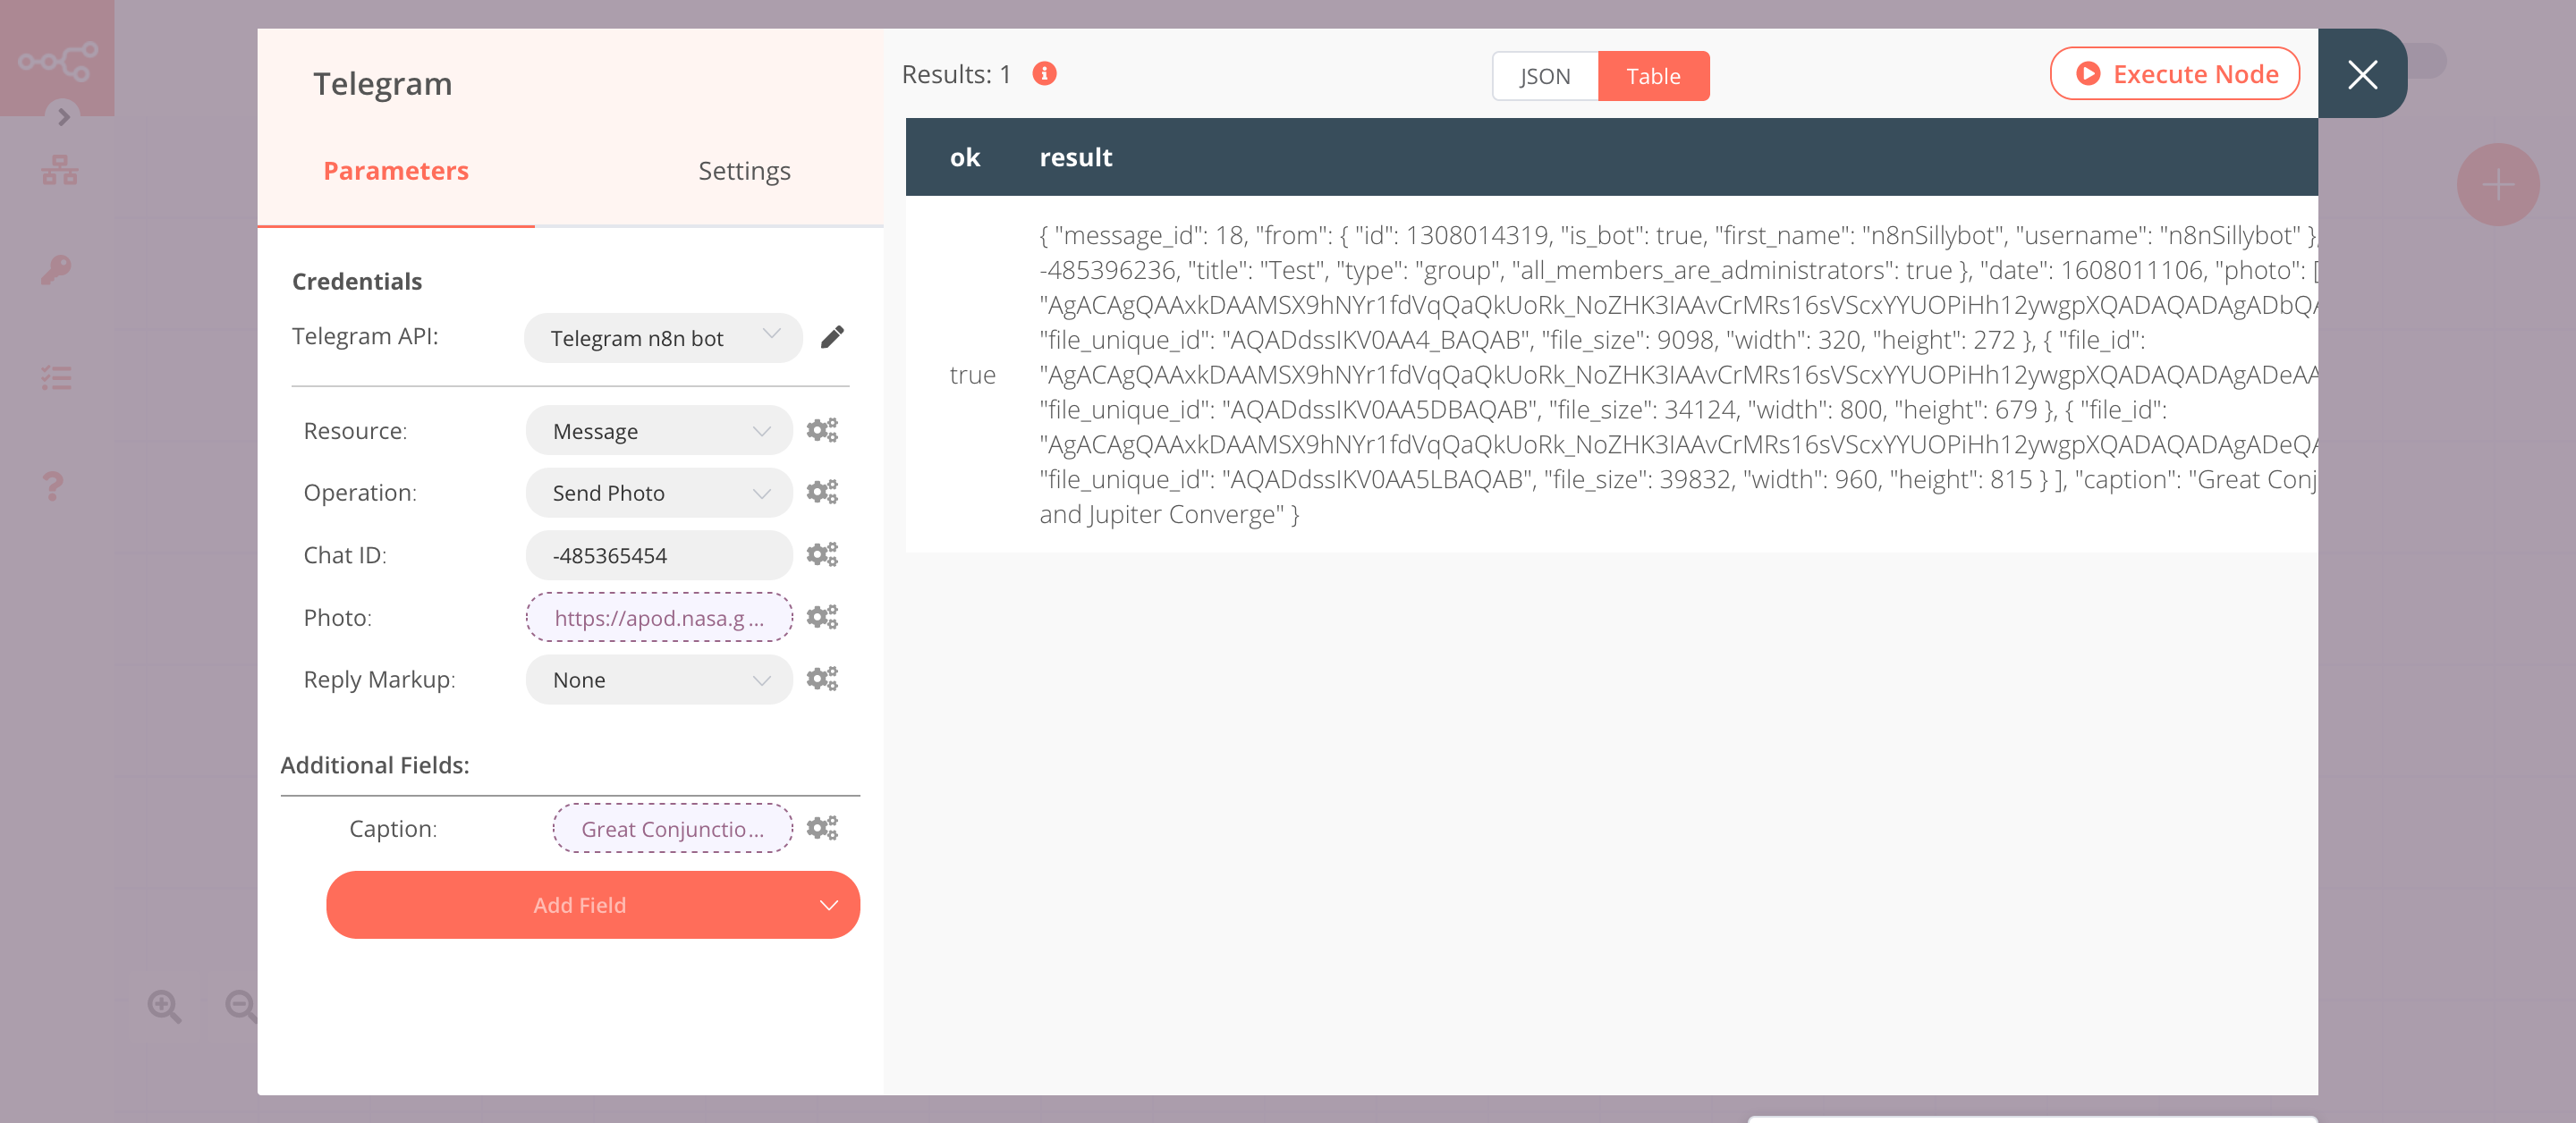
3. Telegram node (sendPhoto: message)#
This node will send the picture that we receive from the previous node to a channel.
- First of all, you'll have to enter credentials for the Telegram node. You can find out how to do that here.
- Select 'Send Photo' from the Operation dropdown list.
- Enter a chat ID in the Chat ID field.
-
Click on the gears icon next to the Photo field and click on Add Expression.
-
Select the following in the Variable Selector section: Nodes > NASA > Output Data > JSON > url. You can also add the following expression:
{{$node["NASA"].json["url"]}}. - Click on Add Field and select 'Caption' from the dropdown list.
- Click on the gears icon next to the Caption field and click on Add Expression.
- Select the following in the Variable Selector section: Nodes > NASA > Output Data > JSON > title. You can also add the following expression:
{{$node["NASA"].json["title"]}}. - Click on Execute Node to run the node.
In the screenshot below, you will notice that the node sends the image with a caption to the channel that we specifiy.
Activate workflow for production
This example workflow uses the Cron node, which is a Trigger node. You'll need to save the workflow and then click on the Activate toggle on the top right of the screen to activate the workflow. Your workflow will then be triggered as specified by the settings in the Cron node.