Chargebee#
The Chargebee node allows you to automate work in Chargebee, and integrate Chargebee with other applications. n8n has built-in support for a wide range of Chargebee features, including creating customers, returning invoices, and canceling subscriptions.
On this page, you'll find a list of operations the Chargebee node supports and links to more resources.
Credentials
Refer to Chargebee credentials for guidance on setting up authentication.
Examples and Templates
For usage examples and templates to help you get started, take a look at n8n's Chargebee integrations list.
Basic Operations#
- Customer
- Create a customer
- Invoice
- Return the invoices
- Get URL for the invoice PDF
- Subscription
- Cancel a subscription
- Delete a subscription
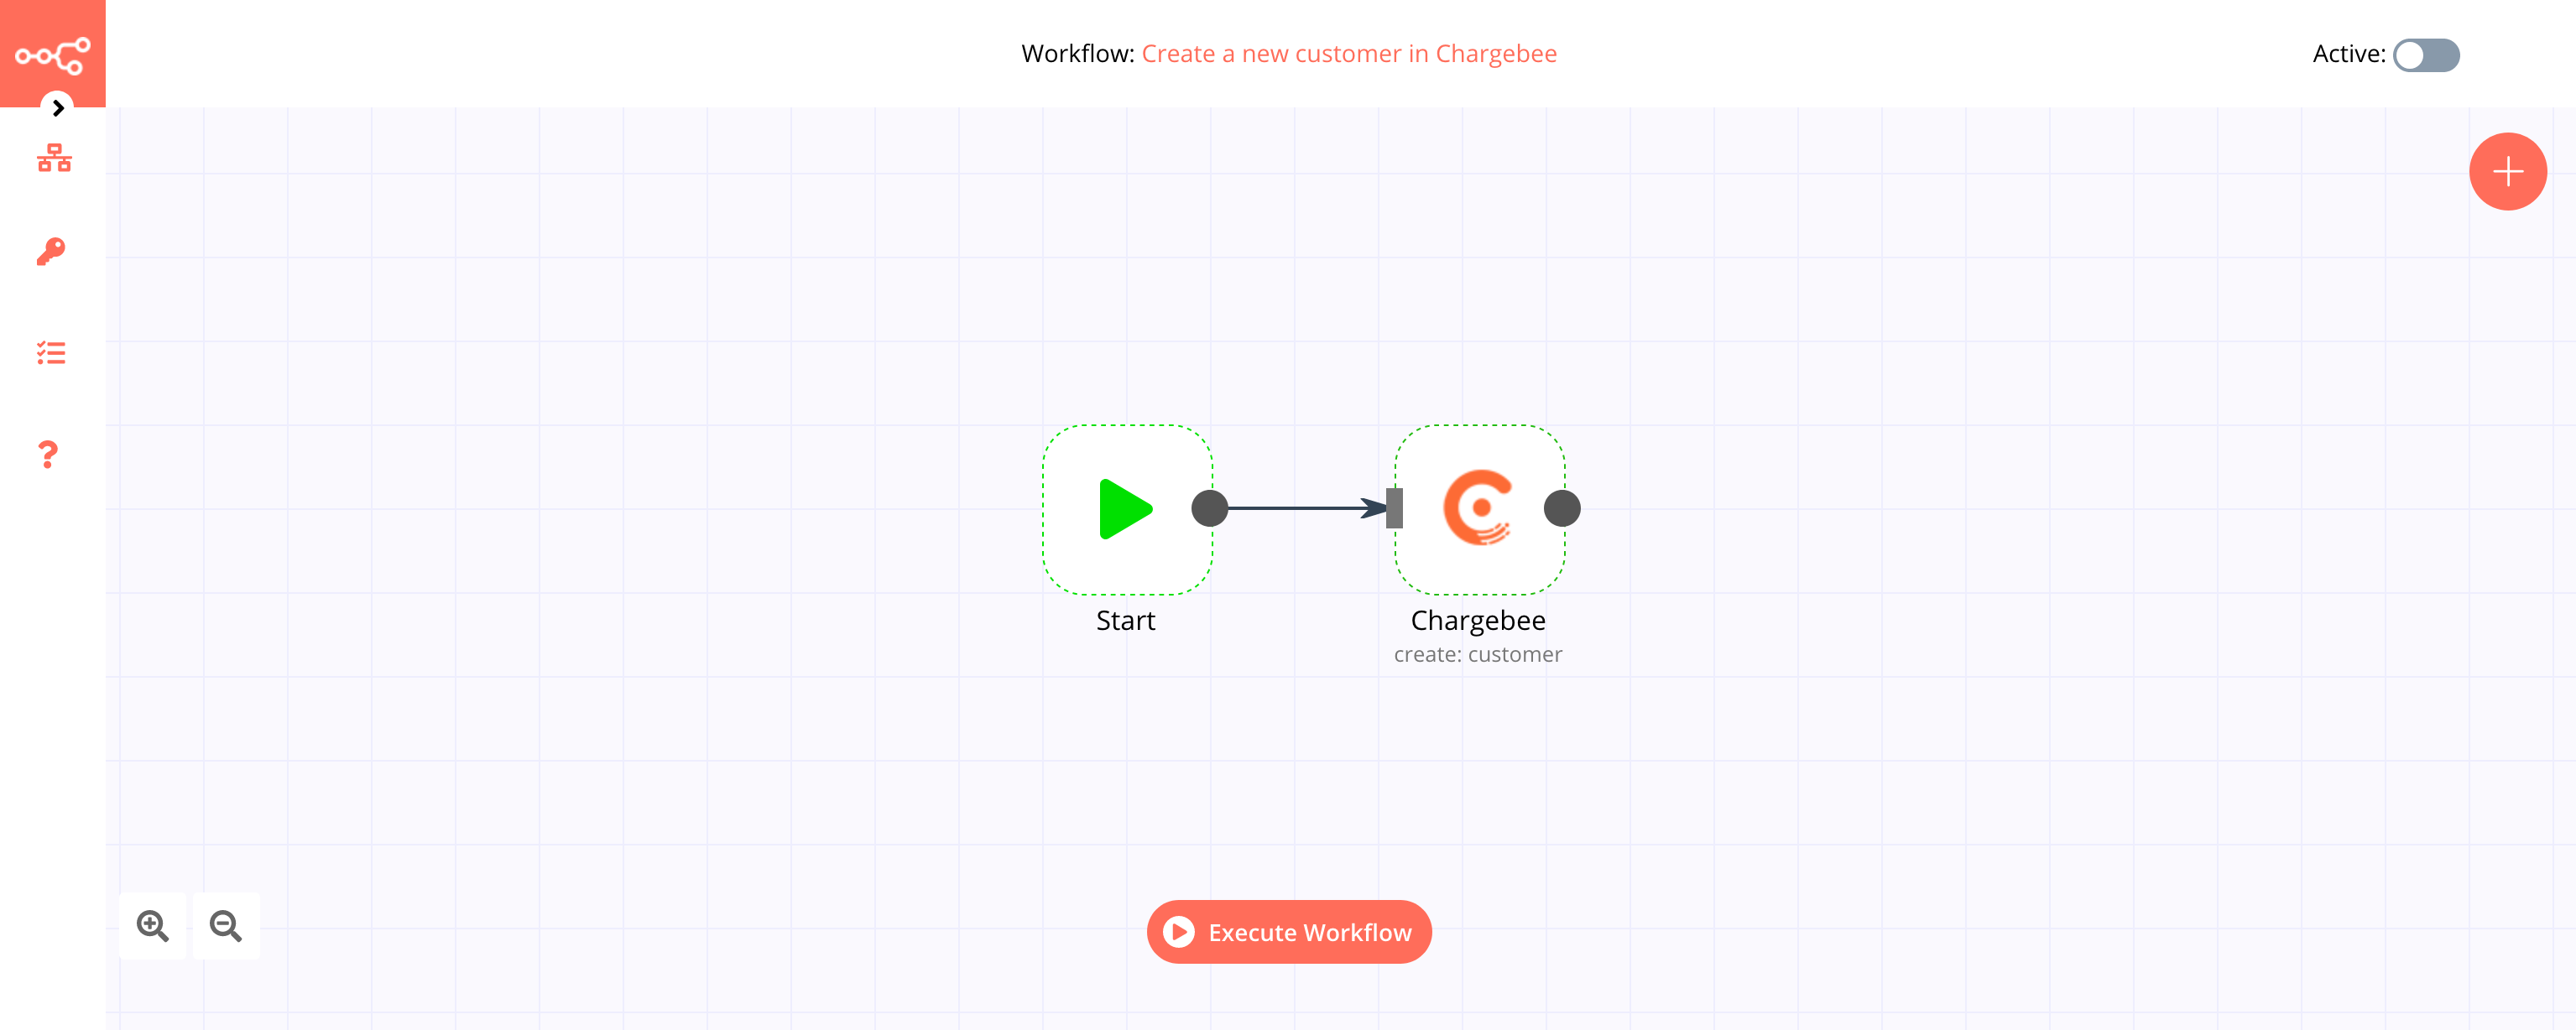
Example Usage#
This workflow allows you to create a new customer in Chargebee. You can also find the workflow on the website. This example usage workflow would use the following two nodes. - Start - Chargebee
The final workflow should look like the following image.
1. Start node#
The start node exists by default when you create a new workflow.
2. Chargebee node#
- First of all, you'll have to enter credentials for the Chargebee node. You can find out how to do that here.
- Select the 'Customer' option from the Resource dropdown list.
- Under the Properties section, click on the Add Property button and select First Name.
- Enter the first name of the contact in the First Name field.
- Click on Add Property again and select Last Name.
- Enter the last name of the contact in the Last name field.
- Click on Execute Node to run the workflow.